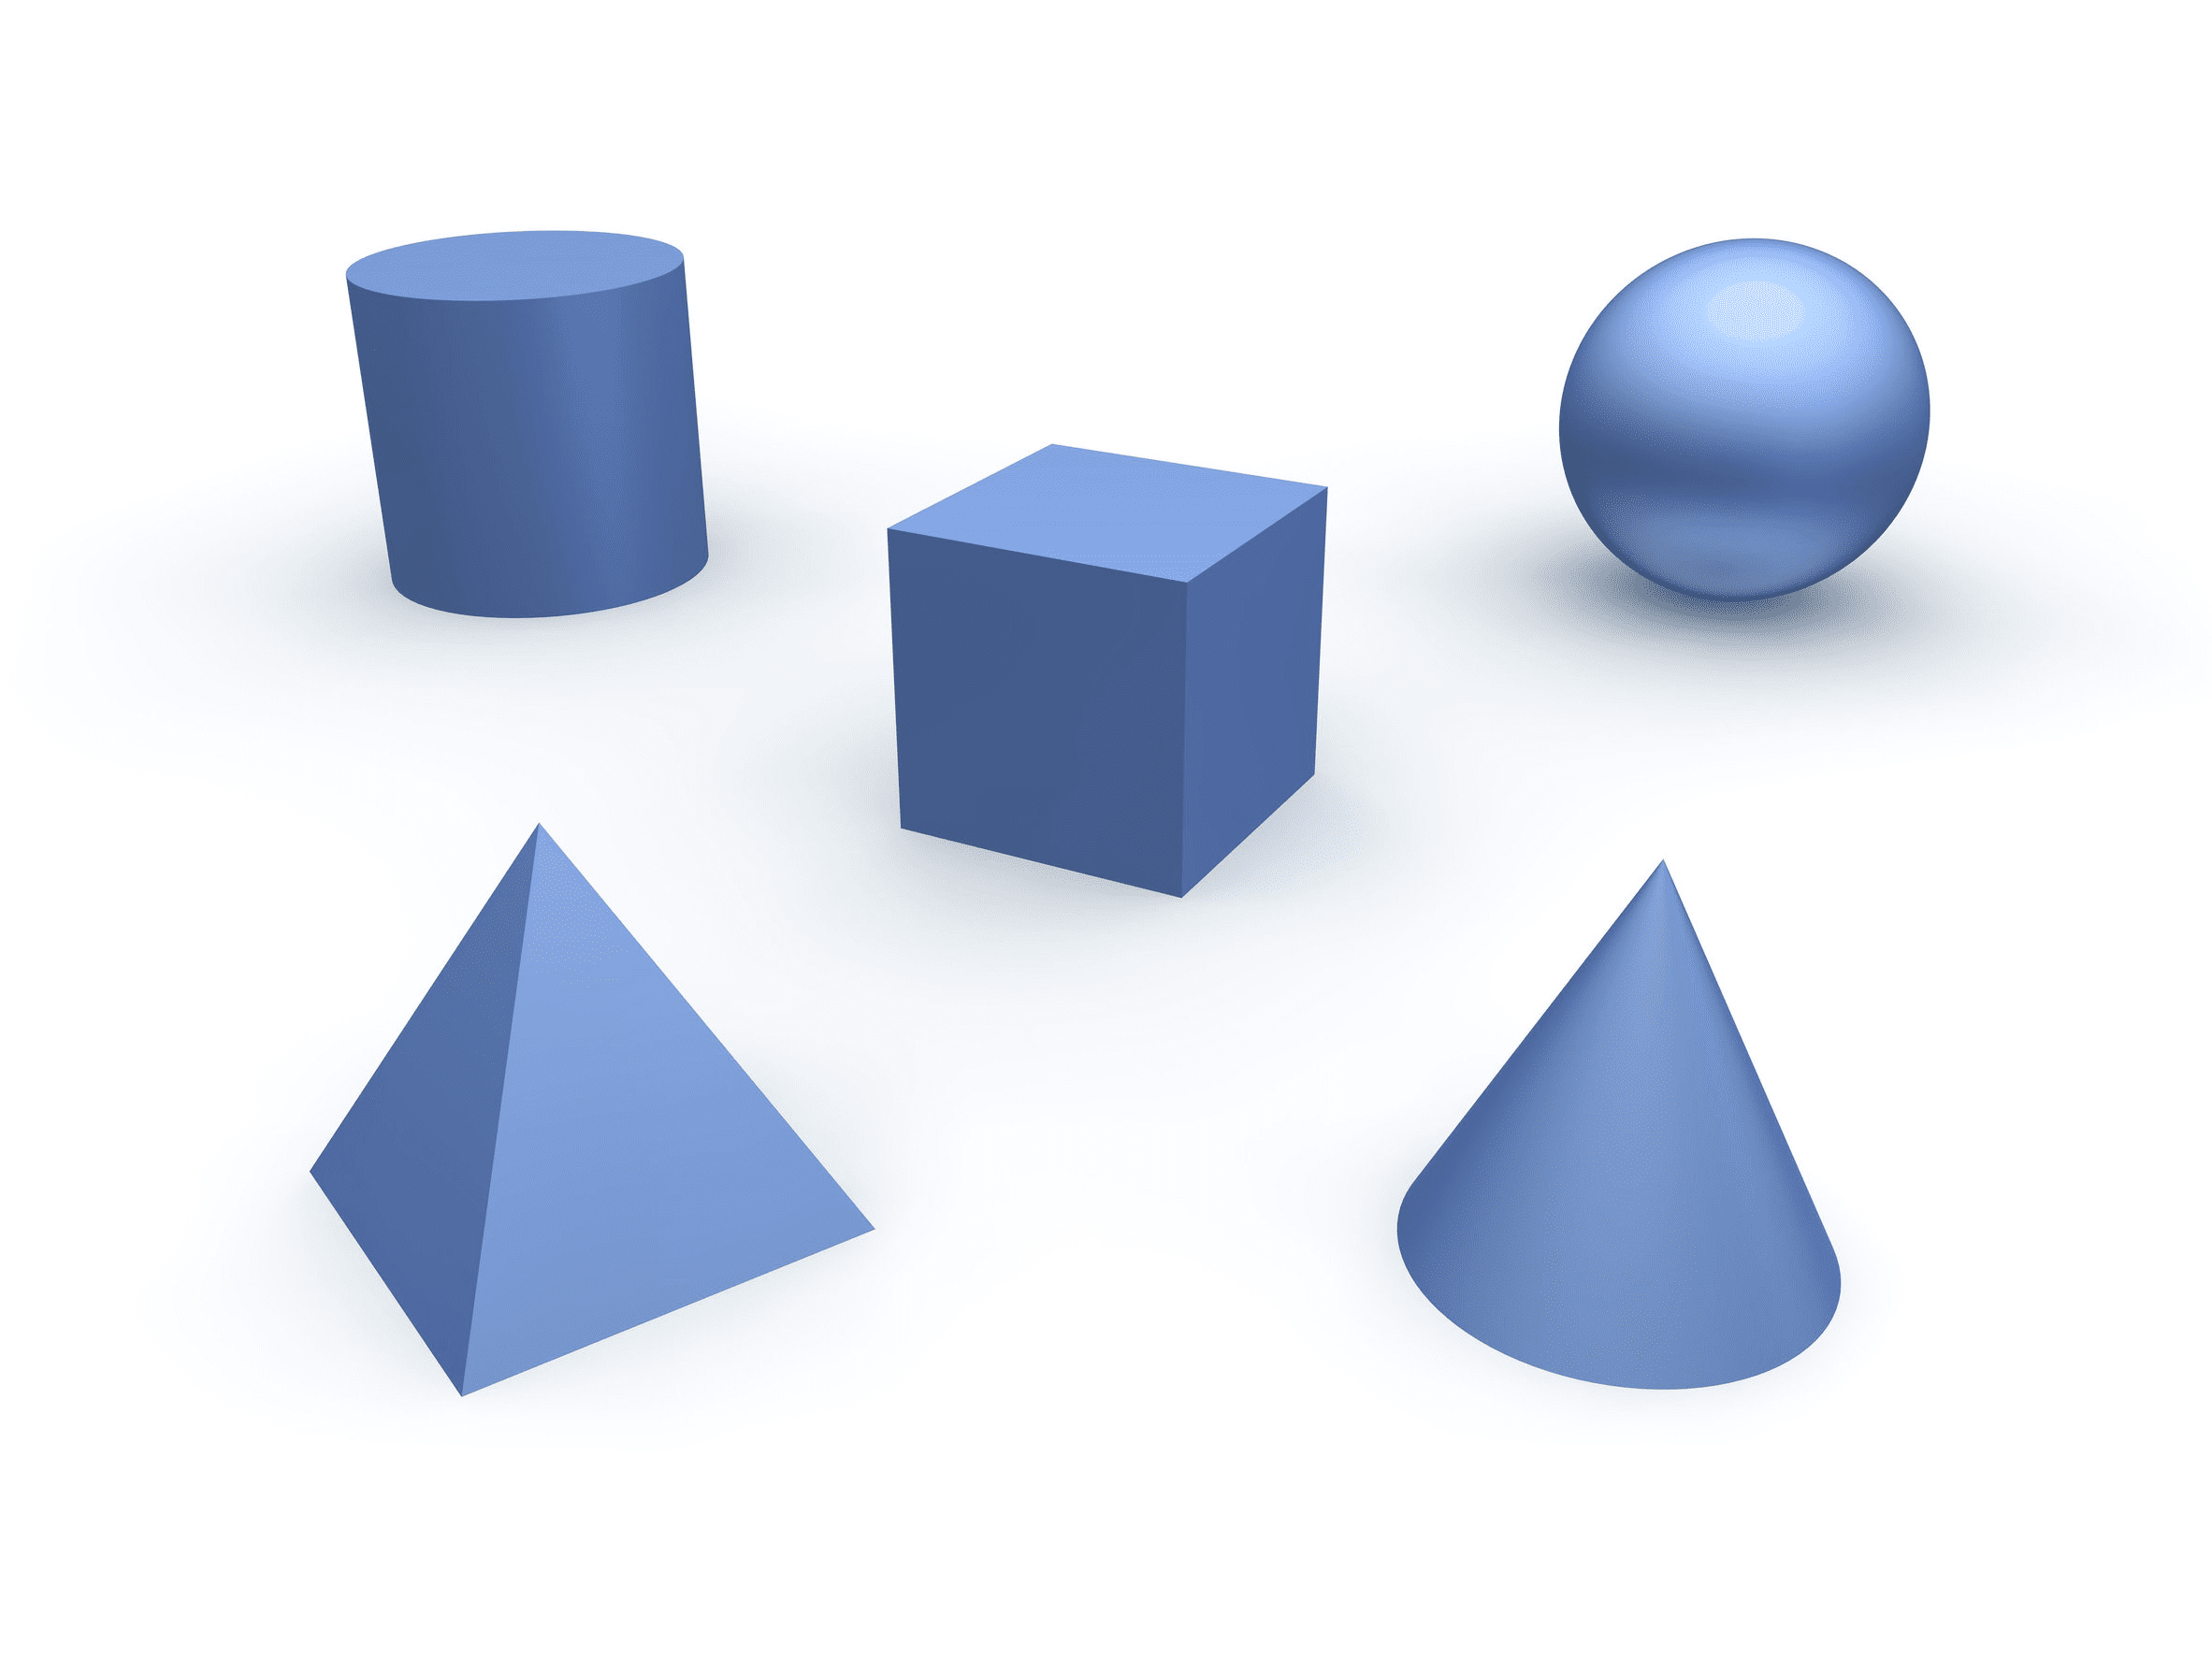
When it comes to looking at 3d geometry with three-dimensional shapes there are no new rules that we must learn at all! All that we need has already been taught in two dimensions through geometry and trigonometry.
However, one thing that we must be careful of is to ensure that we are working with the correct sides and angles. The actual calculations have already been learnt in trigonometry and through Pythagoras’ theorem.
What are planes?
When it comes to looking at shapes in three dimensions we will talk in terms of ‘planes’. These are simply ‘planes of reference’ and just take a 3D shape and show it as two dimensional instead. So the usual planes of a 3D shape are the surfaces on the outside or any other flat part.
3 dimensional planes
Any side of this cube is a ‘plane’ as it is a two-dimensional surface of a 3D object. So each face fits this definition. The way in which different 2D planes share the same measurements can be seen when looking at this also, as the front plane and the side plane share the same edge that joins them. So, since they share a side it must be the same length for both.
Tricks to help:
Treat different ‘planes’ as completely different shapes.
Find the side lengths of these shapes and then use this for other shapes in a different plane.
Recognise that one side length will be used by more than one shape in different planes.
A plane in a 3D object does not have to just be on the outside, we can pick a 2D shape that goes through the middle of the shape as shown below:
2D shape that goes through the middle of the shape
The triangle in the middle of the cube is a two-dimensional shape and we can find things like its area or side lengths without initially knowing anything at all about the actual shape.
If in the above shape we were told that one side length of the cube was equal to 6cm, we could work out the area of the shaded triangle. If we bring the triangle out from the cube and rearrange it by changing our view (try to picture doing this in your mind) then we would find the shape below, which is exactly the same as the original and is a right-angled triangle!
We can then proceed to find some of the side lengths of this triangle by using the fact that the side of the cube is 6cm. This means that one side of our triangle is 6cm and the bottom length would be the hypotenuse of a isosceles triangle with opposite and adjacent both being 6cm.
isosceles triangle
So side BC can be shown as below:
right-angled triangle
The red line can be found by realising that it forms a right-angled triangle with two other lines of 6cm in length (the square’s edges). So the line BC is equal to \sqrt{6^2+6^2}=8.49
So now we know that the triangle has opposite and adjacent sides of 6cm and 8.49cm so the hypotenuse must be \sqrt{8.49^2+6^2}=10.40
So, we have managed to find all of the different sides of this triangle from recognising other shapes (or planes) within a larger 3D image. We have simply worked through using the little information that we were given and found each side separately.


